


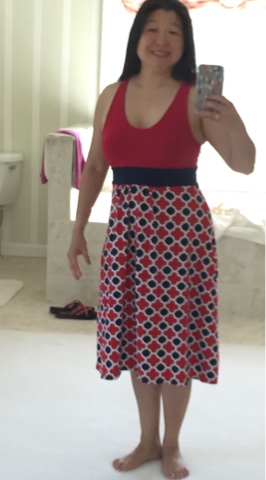
Stride Athletic Tights by Greenstyle
Creations

Hooded Raglan, P4P

Raglan, Peg Legs

Bethiuoa Raglan by Elle Puls and Brassie Joggers, Greenstyle

Mash-up Hooded Raglan, Free Spirit Tank, P4P


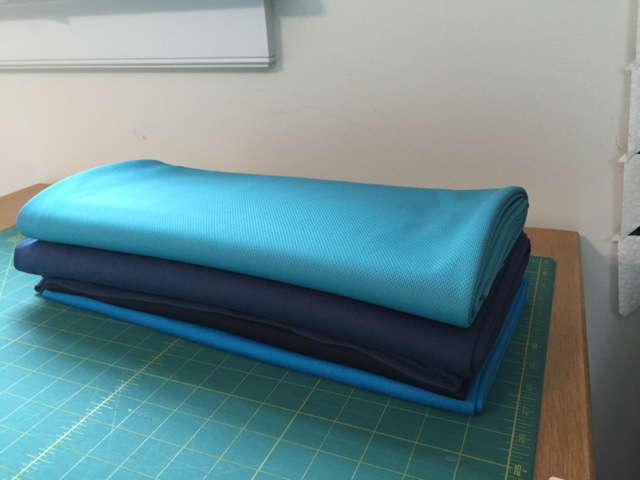
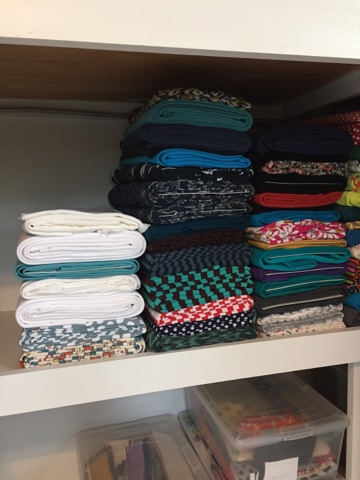
 I've been asked how I organize my knit fabric in neat piles, which make visualization easy and access reasonable. If you really want quick and efficient access to your fabrics, you should store each fabric vertically like books in a bookshelf. My shelves are not that adjustable, and I'd end up wasting some of my precious storage space, so I choose to store in piles. I've categorized my quilting fabrics roughly by color or collection, but my knits collection seems to be growing too fast so it's pretty random in there.
 This is the product I bought on Amazon. Click here to buy boards It's meant for die-hard comic book collectors to display and store their precious comics in special acid-free baggies. Well, we collect something precious, too. It's FABRIC! The boards are acid free and if you want to store your fabric vertically, you will want to leave the boards in each piece of fabric for support. I often slide mine out after using it for folding the fabric, but for flimsy fabric, I will sometime choose to leave it in. I'm also too cheap to buy more, and I have more than 100 pieces of fabric. Trust me, a lot more.
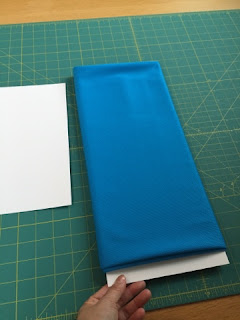
 Fold the fabric lengthwise with selvage edges together. Then fold again, but under-fold by a little bit, maybe 1/2", so that the gnarly selvages are hidden by the neatly folded edge. If your knit is very curly, under-fold by more, maybe 1 to 1-1/2," depending on how much curling there is. In this picture, the selvage is seen on the left side, slightly inside the first fold.
  Now, lay two pieces of comic board, side by side but overlapping a lot, so that the edges hang out beyond the fabric by an inch or so.


 Slide the ruler out carefully, and fold the fabric in half making a neat folded edge for display.


