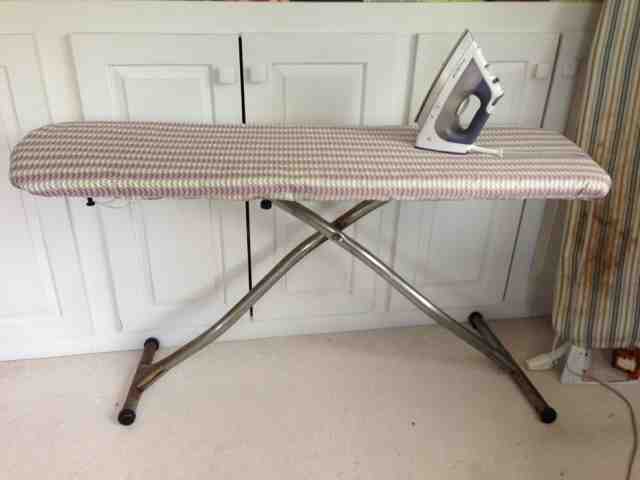
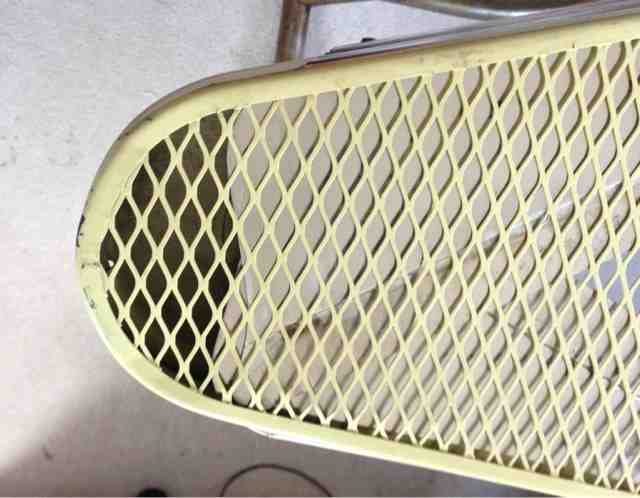
What makes this ironing board so fabulous is a mechanism that changes the shape of the board at the left end, (sorry lefties, this was constructed in a time that your dominant hand was no consideration to the manufacturers.) It's also much more sturdy than any board I've been able to find in my local stores.

So, I cut a long piece of linen/cotton blend in half lengthwise, and serged the non-selvedge edges, rounding the corners. No, I didn't measure or make a pattern. I just made sure that there was at least 2-3 inches to spare all around. Then, (this is the part Julia would have loved most,) I took the drawstring tops from the laundry bags I used in my laundry sorter, (see tutorial for that,) and cut off the mesh part, close to the seam. If you don't happen to have spare parts lying around, I'd recommend buying three large mesh laundry bags. They are less than $2 each. Purchasing nylon rope, the spring-loaded toggles, and making your own casing is going to cost more and take a lot more time.
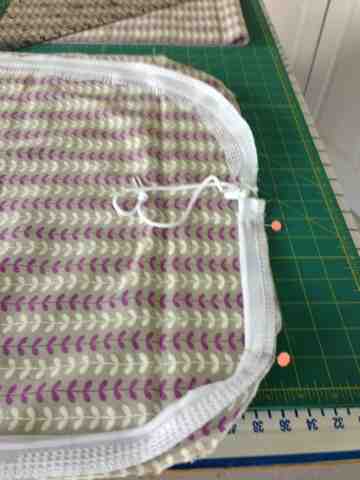 Lay the intact, edge-finished casings out along the edges of my fabric and pin so you know there is enough, making sure there is a meeting of two ends at the top of one end so there will be a convenient place to cinch it when the ironing board is in the pointy shape.
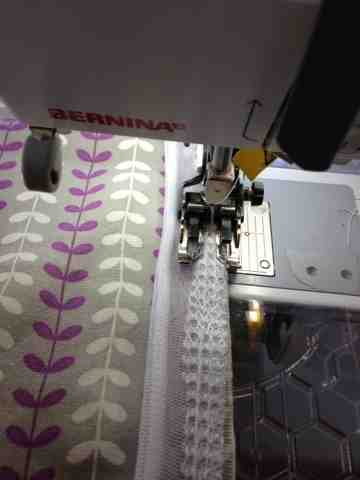
Now, sew around the edge, taking care not to stitch on the nylon rope at any point.Use a seam allowance that will securely fasten this, but don't worry about being exact. It really doesn't matter.
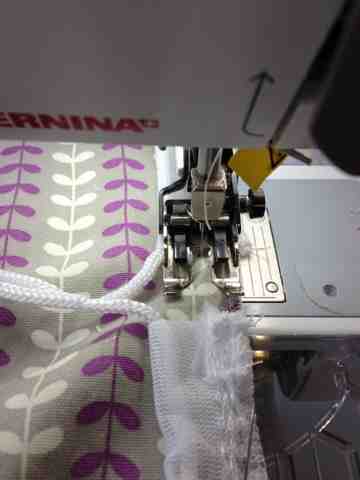 When you get to the end of one casing, just backstitch to secure and move onto the next, leaving a gap between them. Backstitch the beginnings and ends of each casing.
Put it onto your ironing board and cinch all the ropes until it's snug. You may find that you need to tighten this all up after some ironing, as the lining you use will flatten and get more fitted with time.
I cut into about 2 yards of fabric, but I only used half the width. I'll make some bags and wallets out of the other half width...
Stash Used: 1 yards
Stash used total: 91 3/4 yards
Stash acquired: 0 yards
Stash acquired total: 136.25 yards
Stash acquired total: 136.25 yards
No comments:
Post a Comment